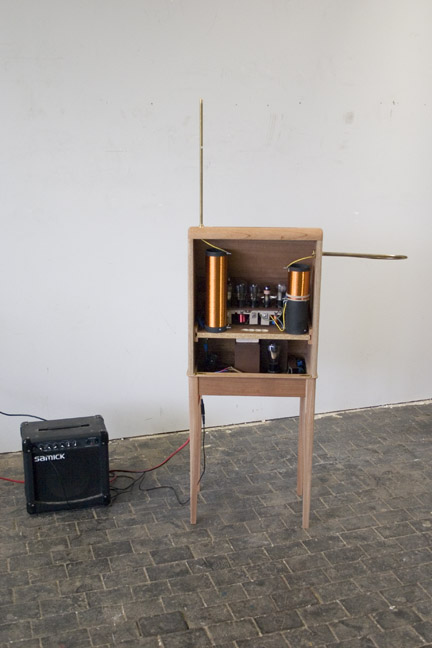
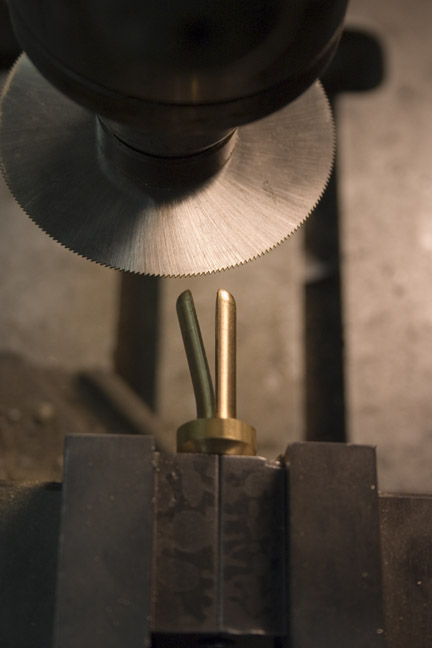
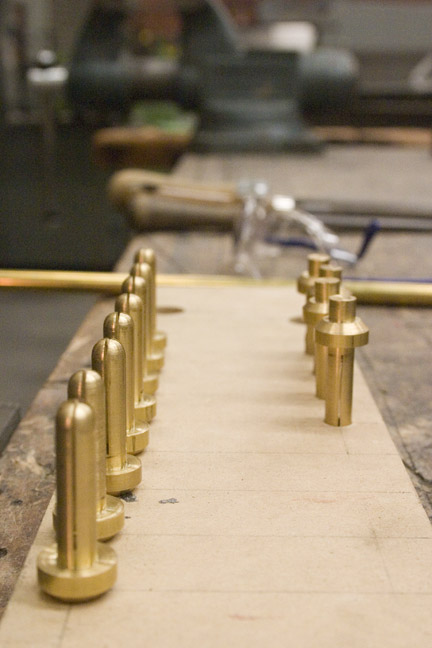
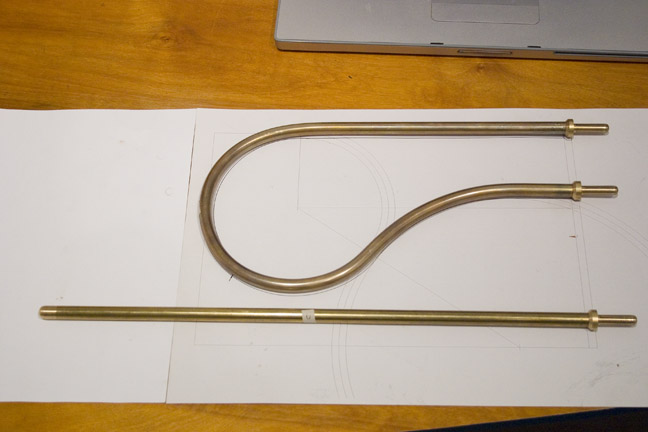
A while ago I completed the milling of the antenna. The antenna mounts have 2 thin slits that let the mounts compress a bit when inserted into the bases.
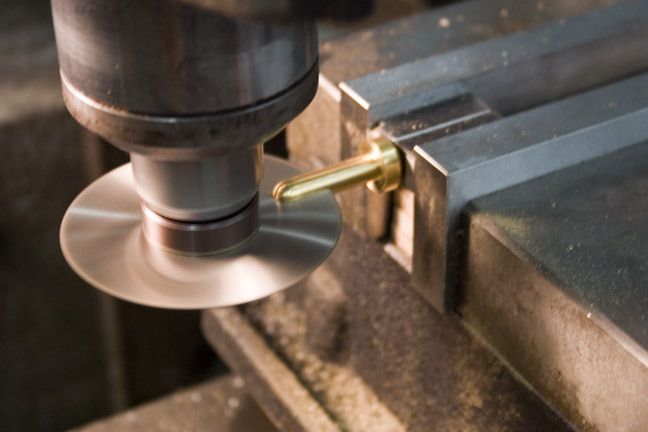
As you can imagine, it was tricky dealing with a thin spinning blade. I think I came in at too steep of an angle on this one and a tooth on the blade must have caught without cutting.
“Why buy one when you can have two for twice the price?”
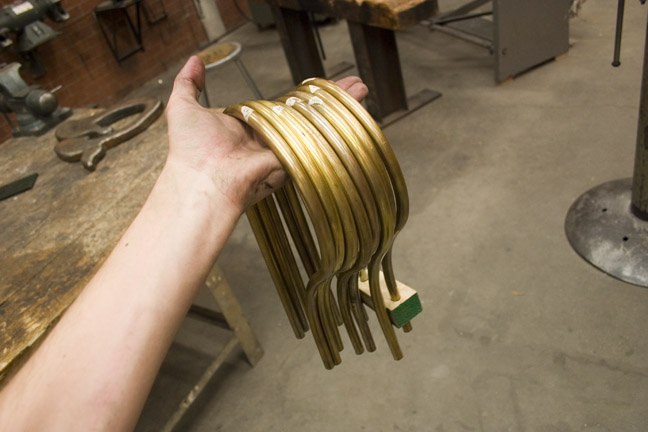
The set matches pretty accurately to the drawings that I have.
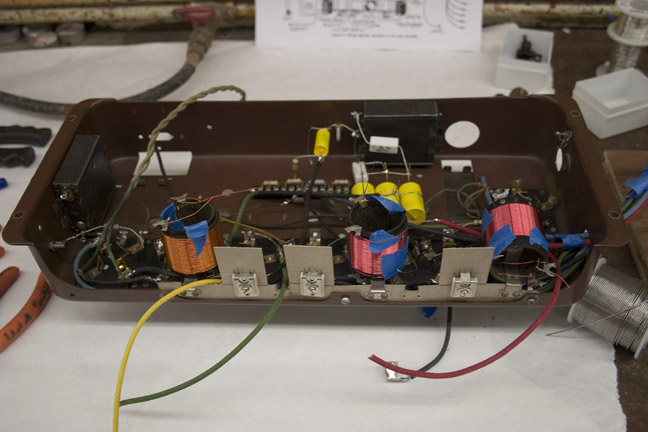
The next thing I did was wind the large coils (make sure the whole graphic loads for this).
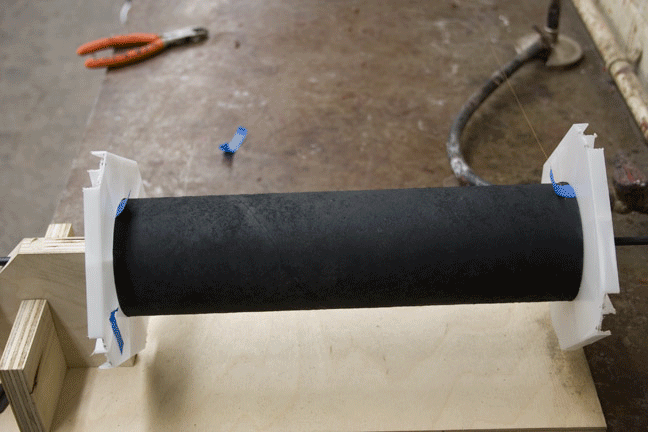
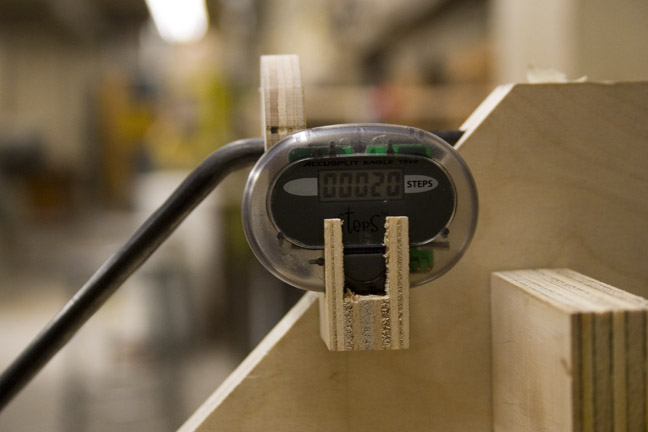
I built a homemade winding jig that integrated a pedometer to tell me how many turns I made. Unfortunately, the jig still has some bugs to work out, so I didn’t get an accurate count of the turns. I simply measured the inductance instead, which is all I needed to verify.
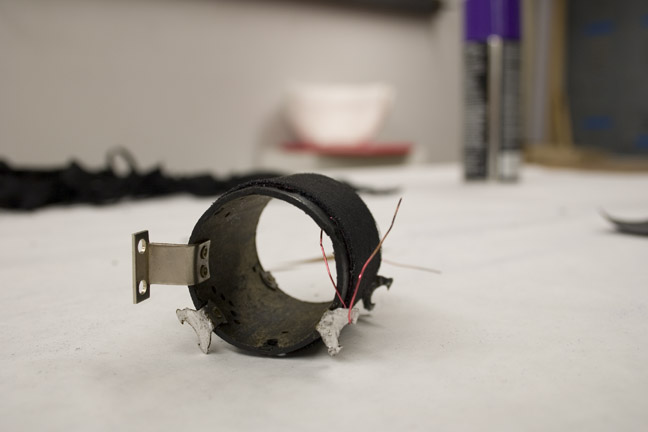
The large volume coil has a secondary winding on it that powers the UX-120 tube. It is of a thicker gauge wire.
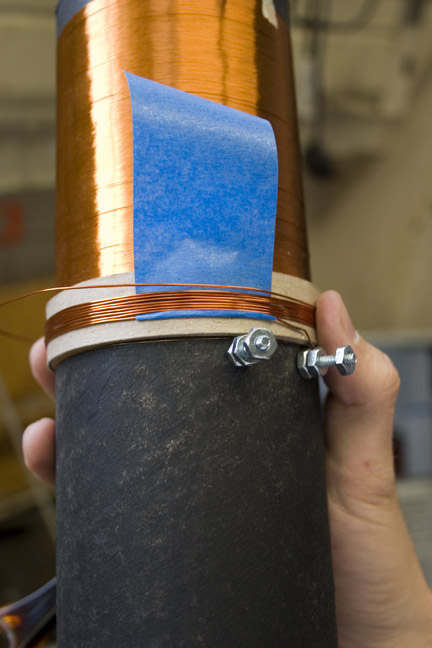
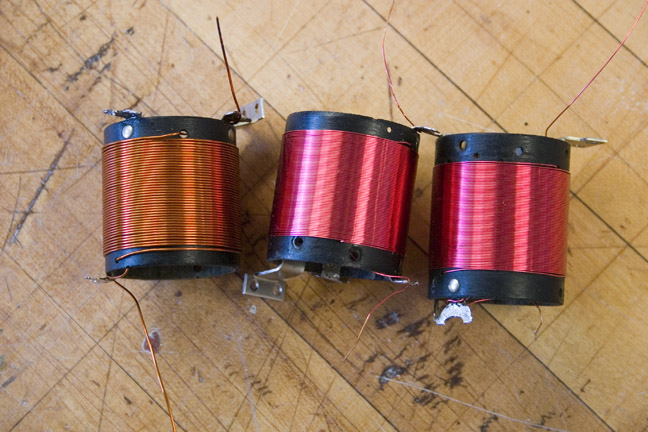
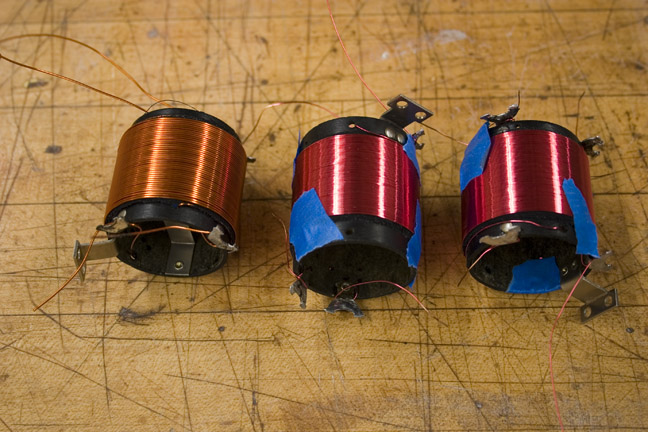
The heart of the theremin are these coils, which are double wound in opposite directions, this causes the circuit to oscillate.
The inductance values (listed below) are pretty damn close to measured RCA values (not listed):
| coil | inner winding | outer winding |
| Pitch 1 | 165µH | 178µH |
| Pitch 2 | 170µH | 183µH |
| Volume | 62µH | 64µH |
I then covered the coils with some cloth to separate the two windings.
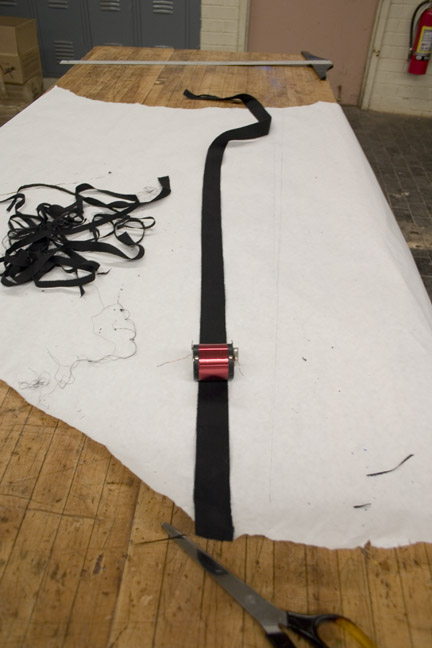
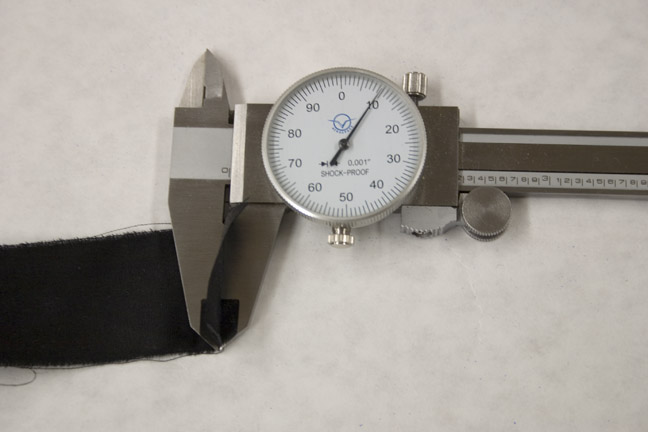
the thickness should be .03″, and RCA used .01″ thick book cover cloth wrapped three times. I used spray mount to make my regular black fabric stick to the coils.
you can see the layer underneath.
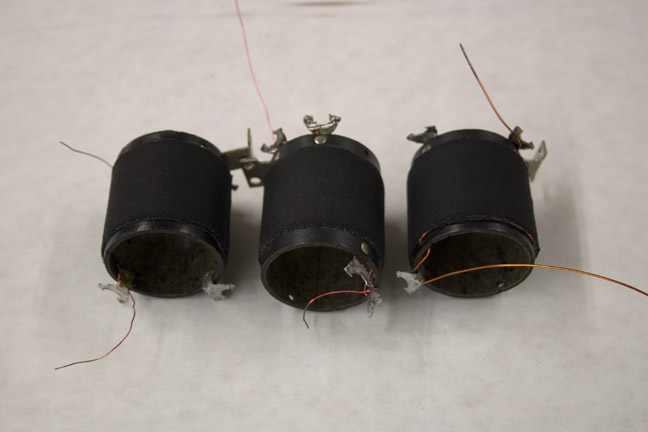
The coils are then wrapped in the other direction the same number of turns.
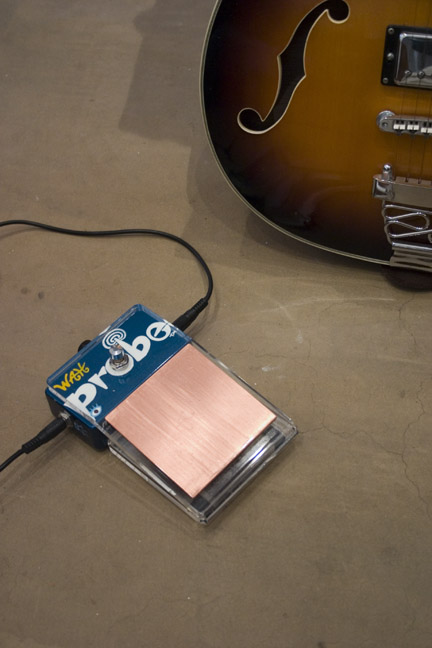
I also bought a ZVex Wah Probe from their scratch-n-dent page. These Probe gutiar pedals have a theremin like controller for expression. This wah probe also has a boost drive, which came in handy later… I got one to play with the theremin for an additional no-contact control of the sound (and to use with my guitars).
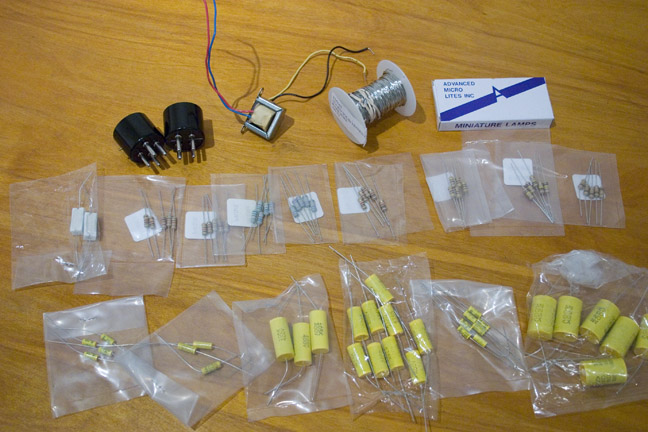
I ordered all the passive electronic components, extra pilot lights, an audio transformer so I could use my modern guitar amp, and some tube bases for a future project.
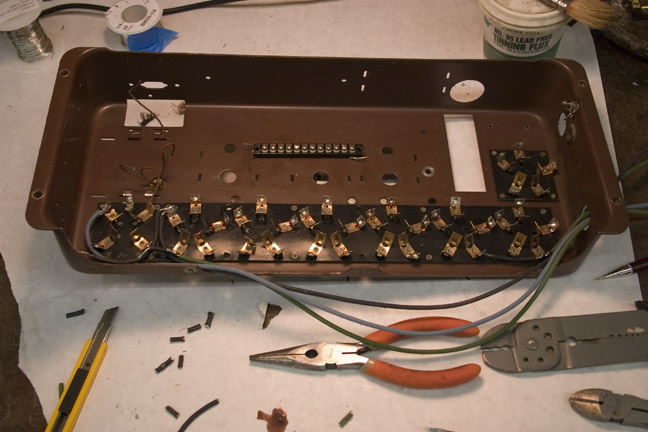
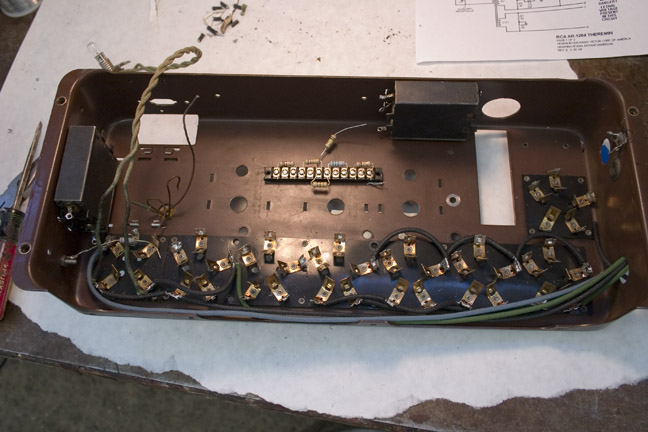
Then, days and days of soldering. I spent about 17 hours each day over the last two weekends.
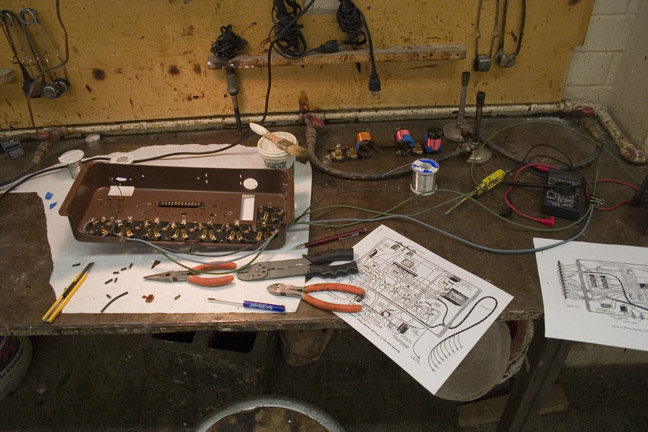
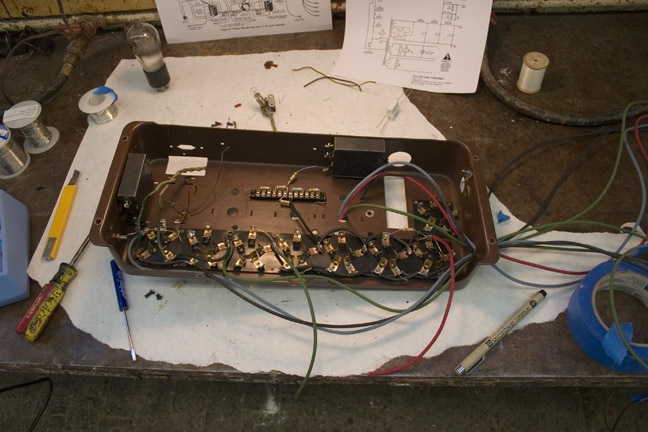
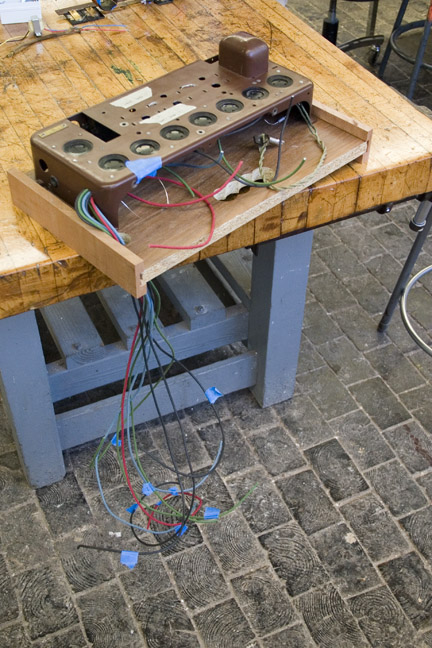
The power supply feeds the tubes and coils electricity through a long bundled series of tubes, I mean, cables. It was tricky not knowing the exact length to cut, and being limited on my repo. cloth covered wire, I had to take some clever actions. At the end of all this, I was left with about 3 inches of extra red wire, but came up short on the black. I’ll have to get some more black wire.
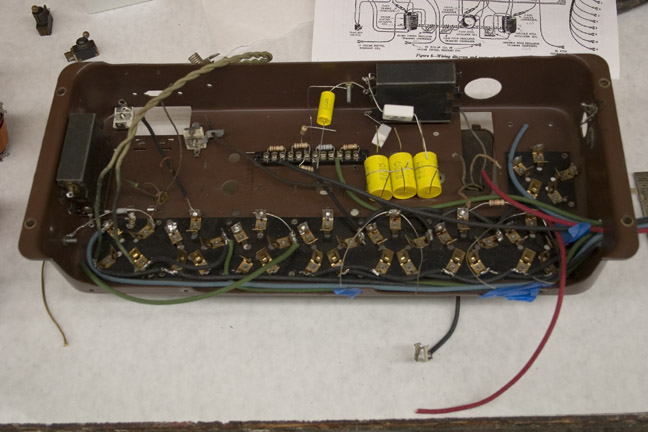
I bought modern trimmer capacitors to use temporarily while I modify the original ones from the Radiola 60. Right now they’re mounted on cardboard.
So, when I had everything done, i checked the power supply for continuity, using the service notes from 1929. Everything checked out, so I plugged it all in, crossed my fingers, and hoped I soldered everything correctly. Fortunately I did!
The tubes lit up!! Nothing exploded!!
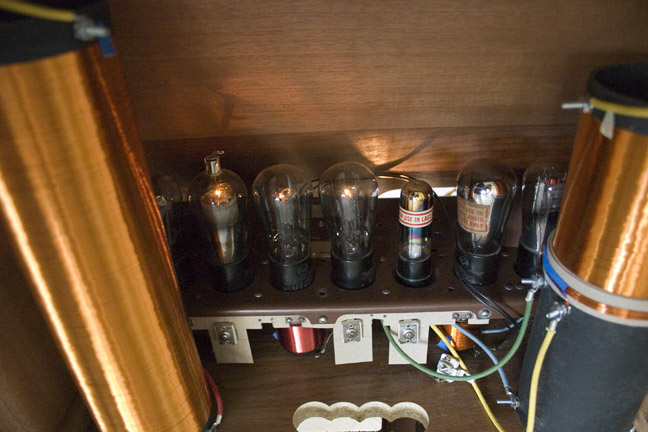
It didn’t, however, make sound right away. It turns out that one of the UX-171A tubes I got was dead. The two 171A’s act as the volume oscillator and the volume amplifier. For the initial power up, the dead tube was in the amplifier socket so I heard nothing. I then switched the two tubes, because I couldn’t see anything glowing in either (though one was). Then, turning it on, there was that classic “you just turned on an electronic instrument” pop. It didn’t play because the volume oscillator wasn’t working. So I put it back in the first configuration and…
Keep in mind that this is not what Anastasia will ultimately sound like. Once I get a new 171A tube, I will post a new video focusing on her new sound.