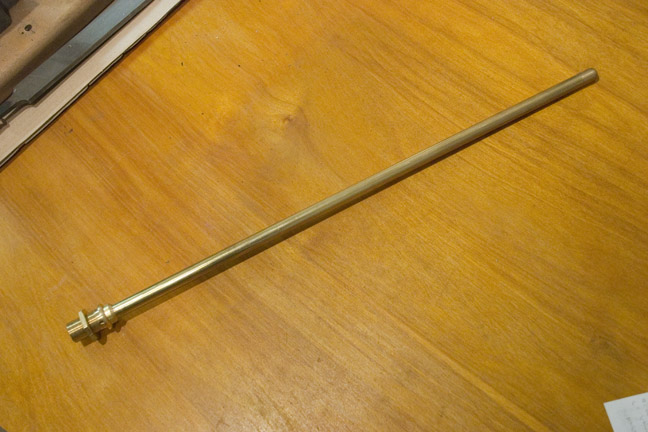
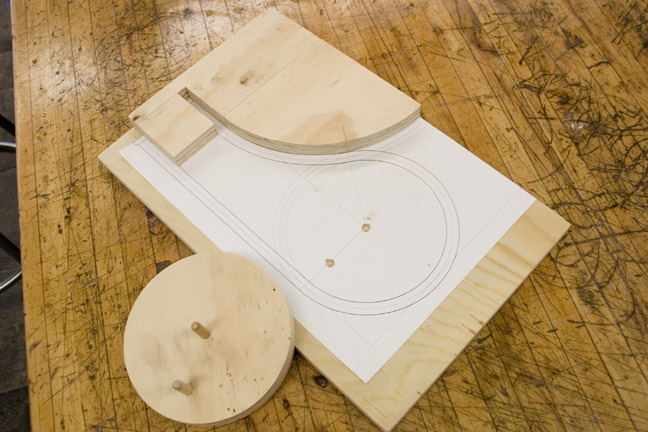
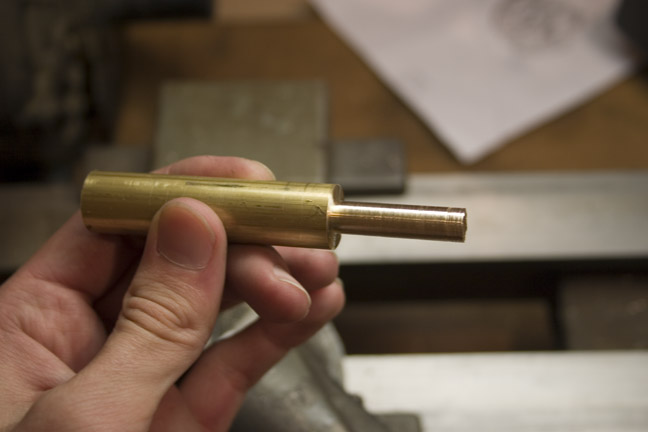
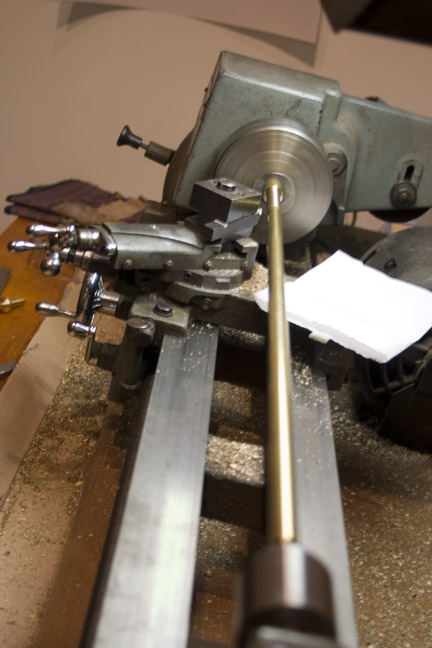
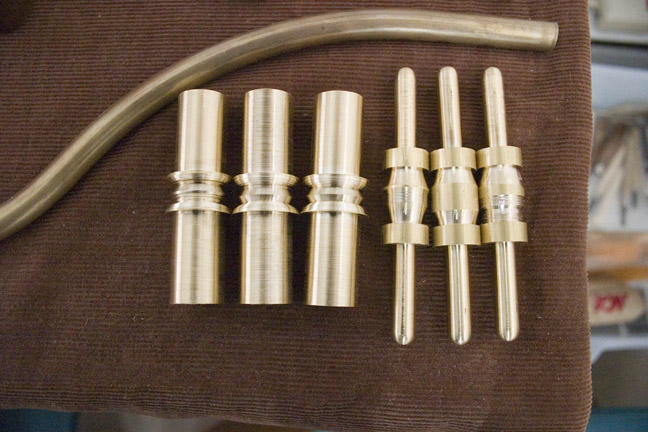
The RCA Theremin has 2 antenna—a vertical pitch rod and a horizontal volume loop. Each antenna is comprised of 4 to 5 separate parts, all made of brass.
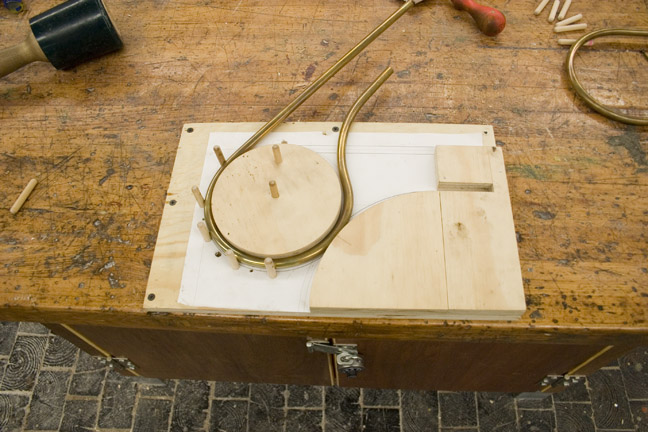
The first step was to bend the loop. I designed and made a jig to bend the loop.
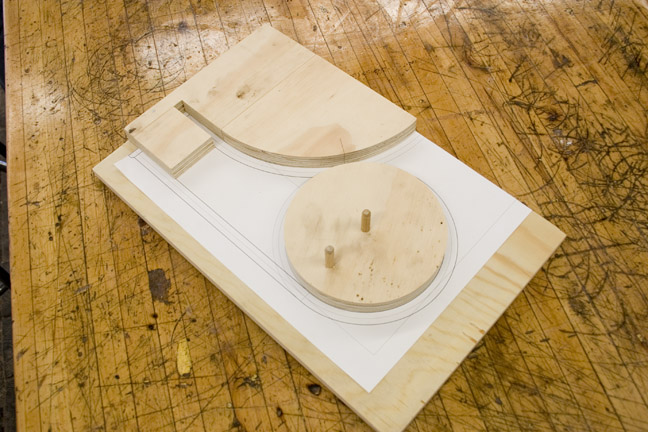
The jig needed a removable part so that the compound bend could be done in one pass.
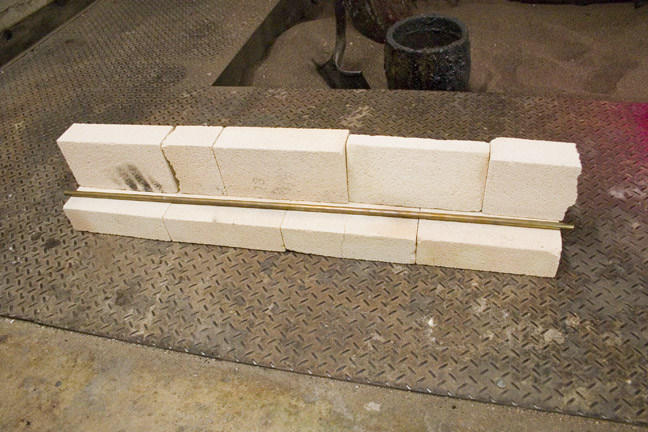
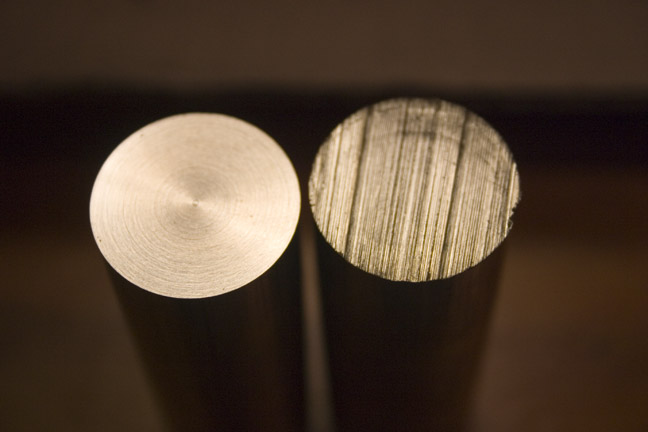
After annealing and cooling the brass tube so it could bend, I packed it tightly with aluminum oxide from the sandblaster and capped it off with clay so that the tube would not crimp when bending it. I put in pegs every few inches to hold the tube in place.
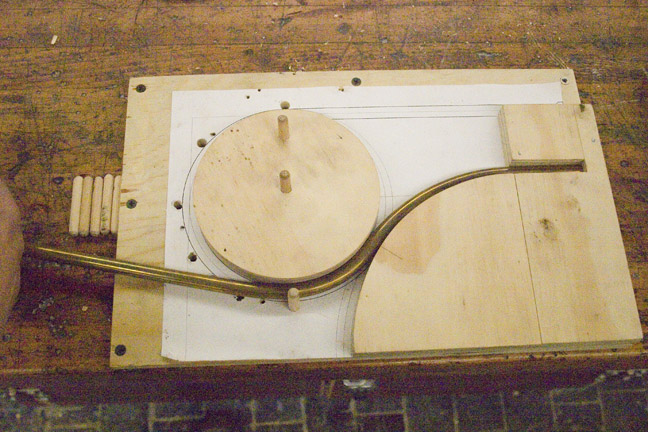
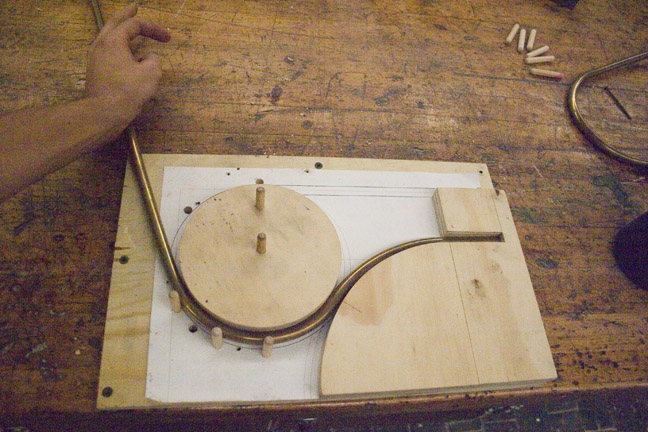
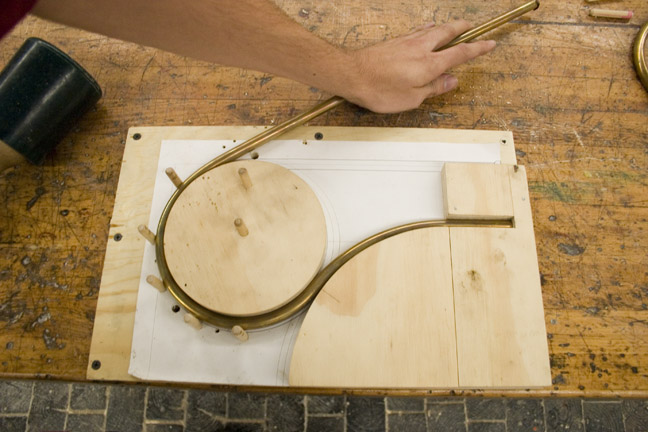
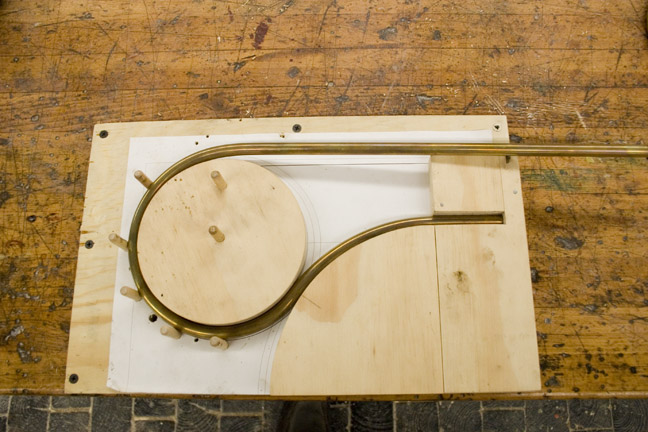
I should have taken into account the natural give of the brass and over-bent it, but a little bit of hand work got the loop back in place.
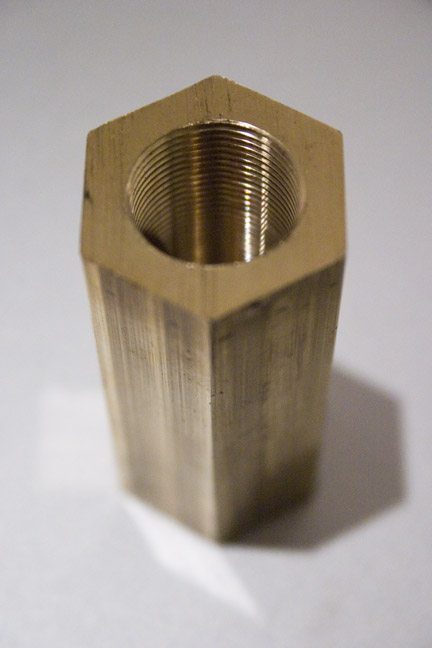
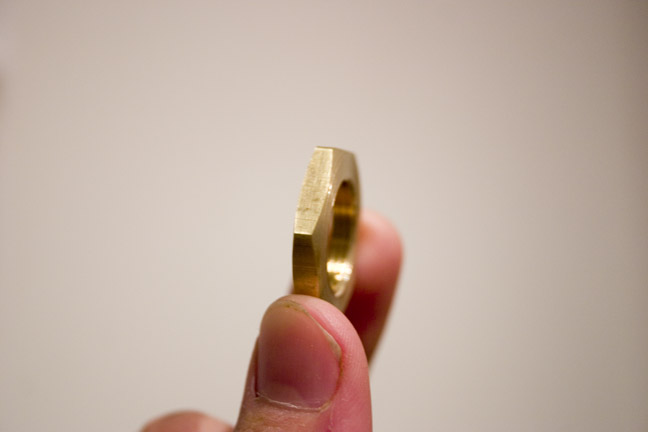
The antenna consist of the tube, an antenna base, which slips into the antenna mount, which is threaded and is mounted into the theremin’s cabinet. This way, the antenna can slide in and out of the cabinet easily without any tools. Now, according to the construction documents I have, the threading is 11/16″ and 24 threads per inch. This is not standard. At all. I had to buy a tap and drill bit so I could make my own nuts to the specifications. It probably would have cost me more to have them fabricated, though.
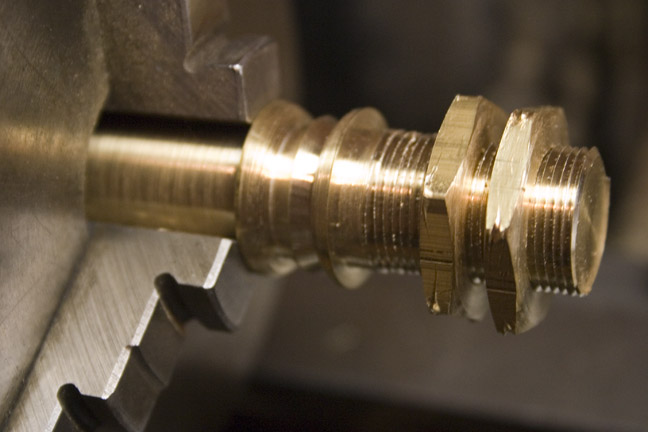
So I threaded the hex stock and cut it down to make the nuts.
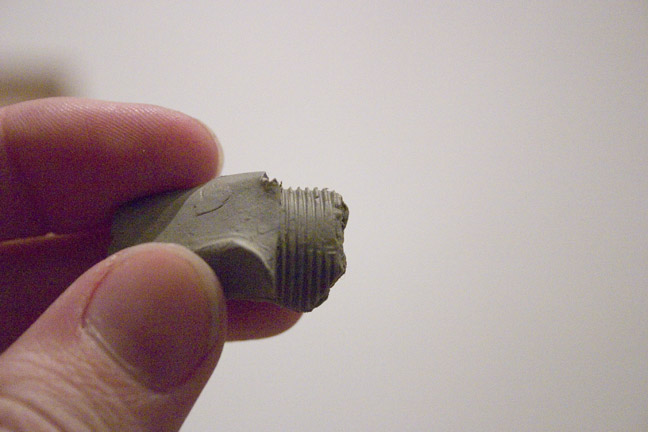
A quick cast of the threads with plastiline clay showed that everything was looking good…
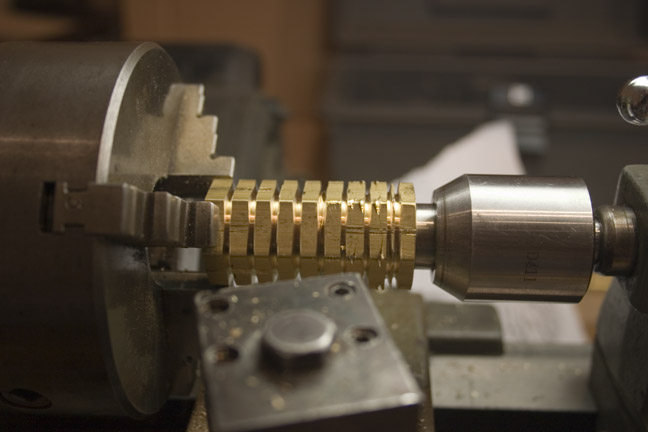
A test piece of brass used for threading held and locked the nuts in place so I could face them off.
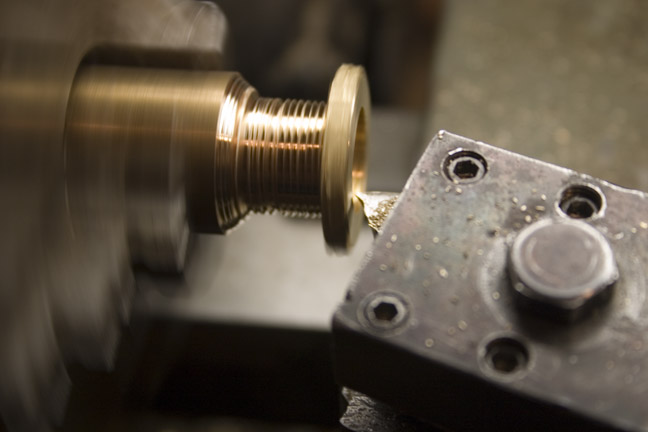
I even put the nice bevel on them! It’s so nice to set the angle to 21º and just cut them all down in a few passes.
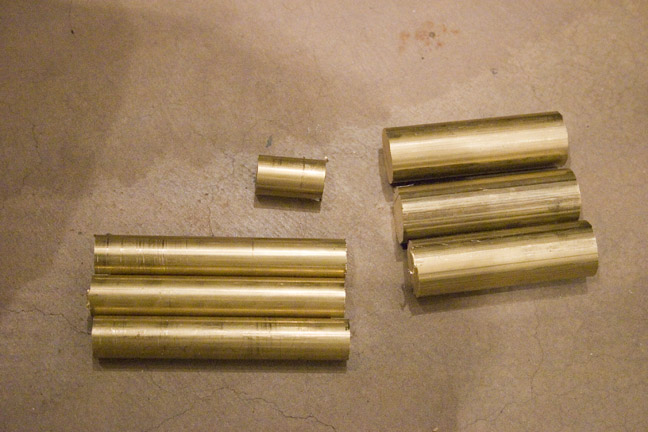
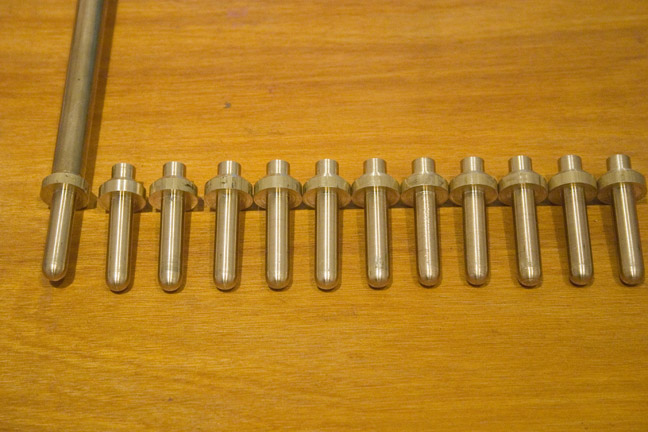
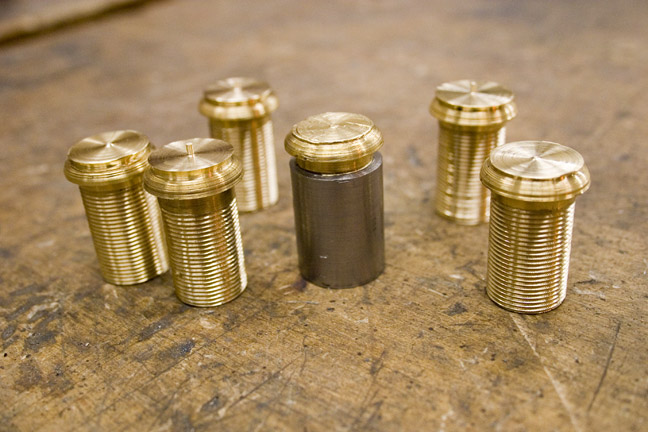
The base parts were pretty simple. The hand rounding was time consuming, but I got the hang of them pretty quickly. I ended up making 12 of them for 4 antenna sets.
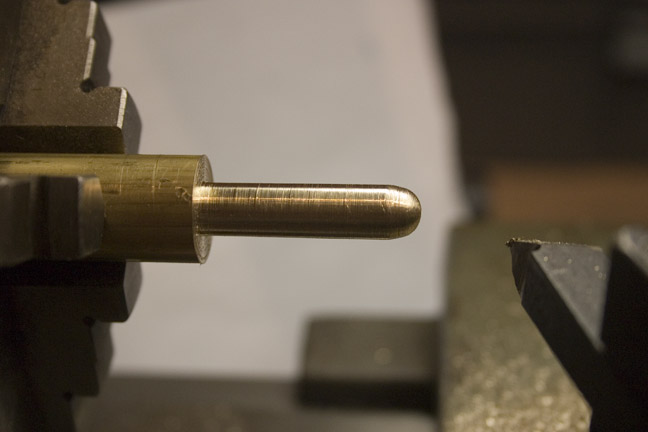
making the antenna tip flush with the antenna rod.
Facing the stock so it’s nice and smooth.
In progress…
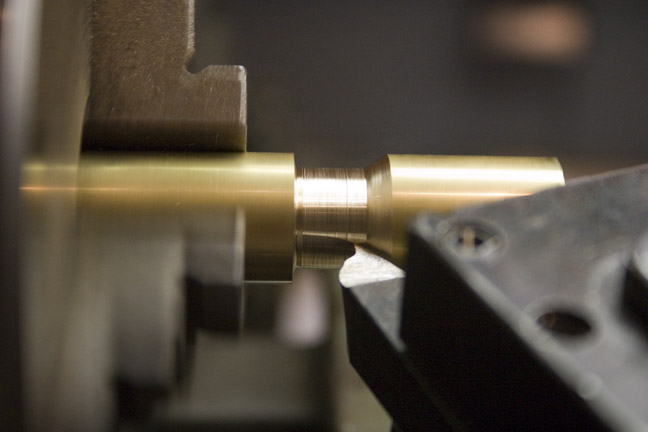
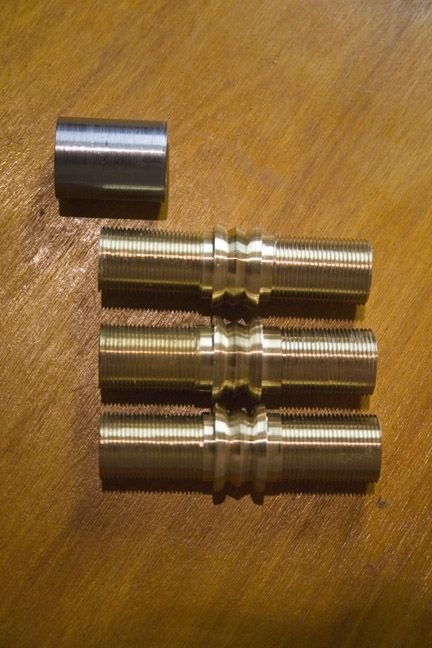
The mount parts were a headache. In order to thread it and round over the corners, I needed extra material to grab onto on the metal lathe.
It made sense to do two mounts at a time, but after I threaded one piece, I couldn’t put that in the chuck or it would get thrashed up. One Idea was to lock two nuts together and chuck that, but it was nearly impossible to get the piece centered on the lathe.
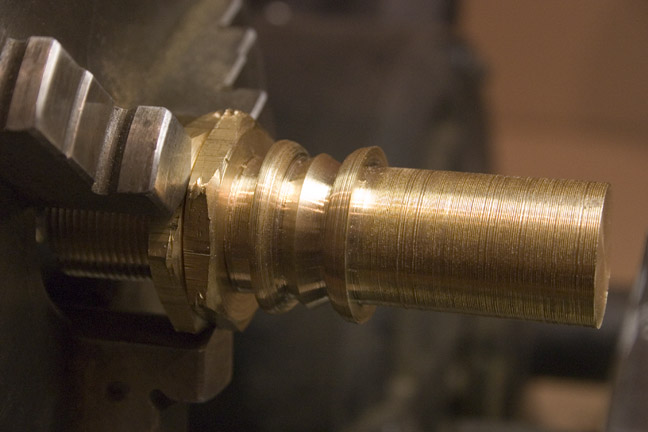
I cut down one of the messed up nuts to act as a collar, but it was too small.
While threading the piece, the bit caught, broke, and the brass piece slipped in the chuck and got messed up a bit.
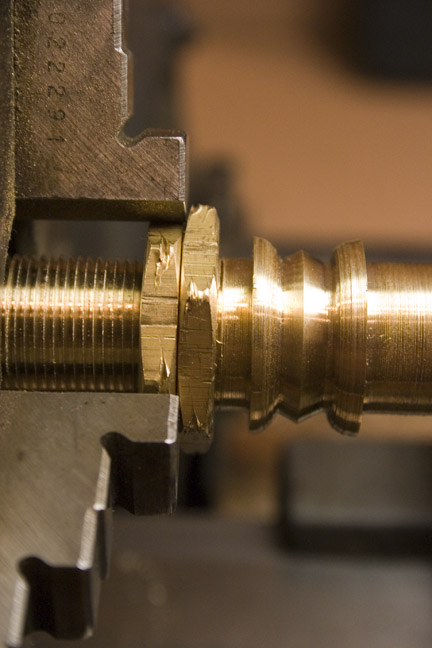
I decided to make a threaded steel collar (hand tapped!!) that was the length of the mount threads. This locked down the piece nicely and didn’t get marred up in the chuck nor deformed under pressure due to being a harder material.
The threading bit needs to be perpendicular to the stock.
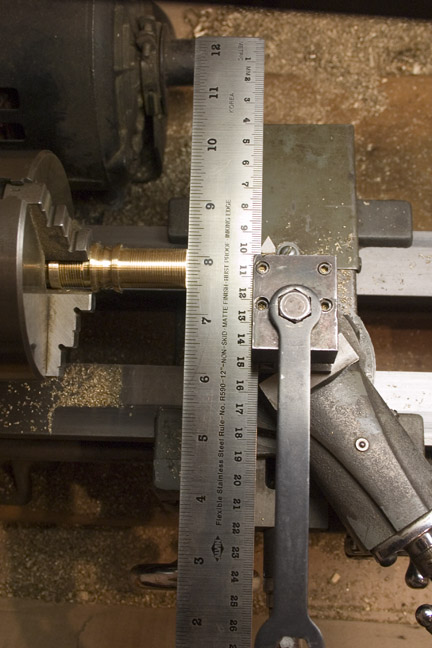
After cutting the two threaded mounts apart, it was very difficult to get the one in the collar out, due to the force of the lathe locking it in tight.
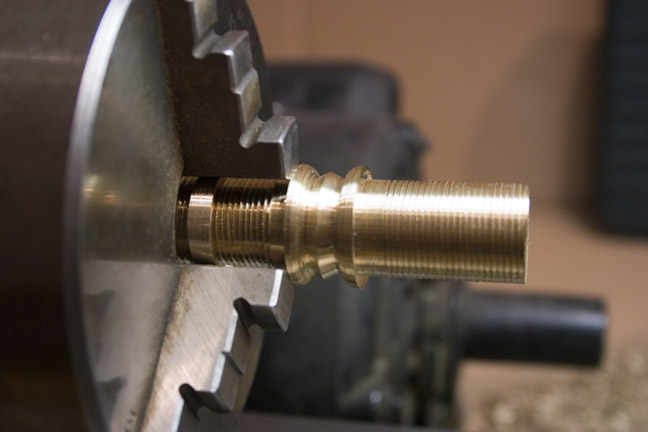
After drilling the hole for the base, I ran a bolt through the piece and twisted it out of the collar.
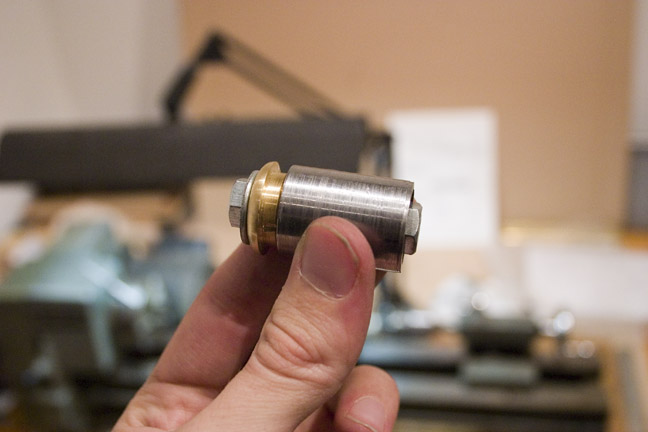
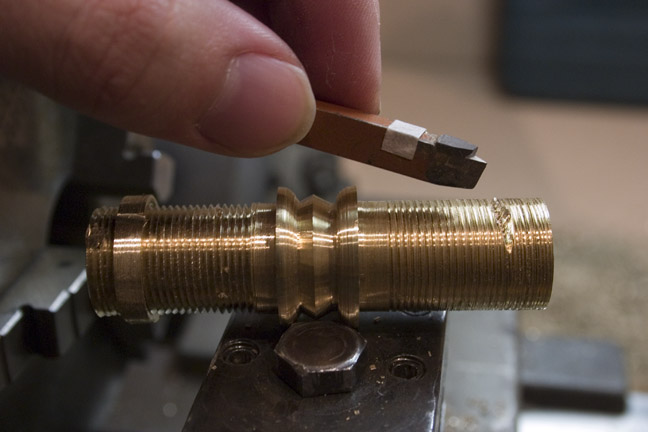
A completed theremin pitch antenna!