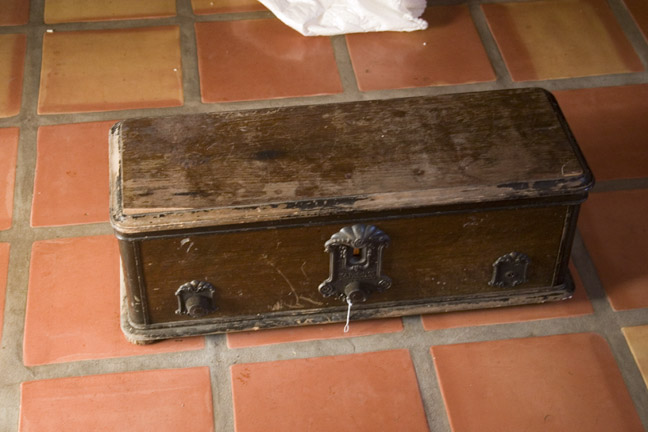
My RCA radiola radio arrived last night. I’m going to cannibalize it for parts for my thermin. It has the same power supply as the original RCA 1264 and many of the parts look like they can be used as well. This monster is huge! The photos don’t show the size of this thing. for reference, each tile square is one foot.
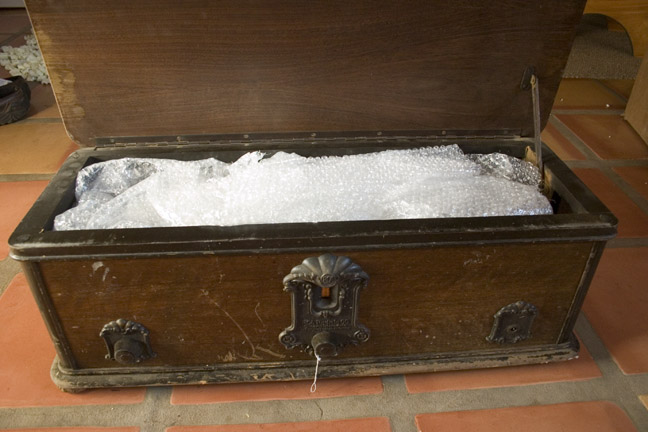
First thing I did was take out the tubes, power supply, and the chassis.
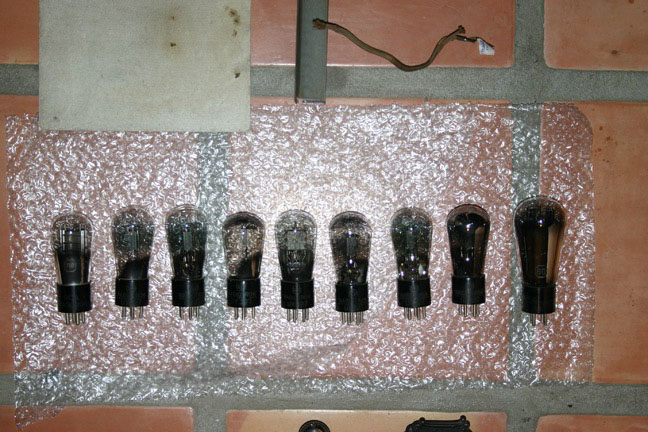
Dirty, dirty tubes!
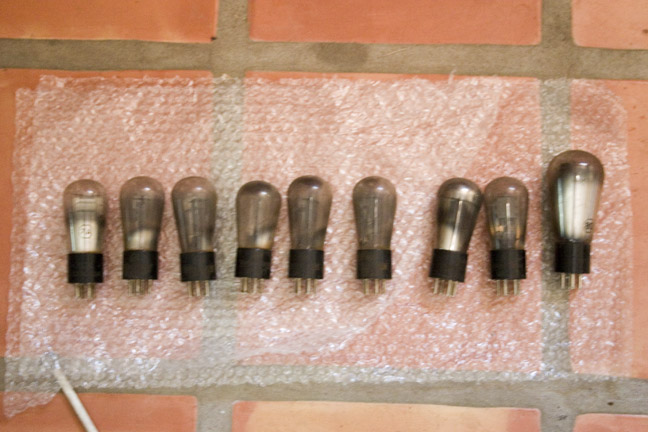
A damp cloth cleaned the tubes right up. They were caked with a rusty, dirty grime.
Left to right: one UX 171, seven UY 227’s (I only need three), and one UX 280, which sadly sounds like it’s not working, as there’s a bit of free, broken glass in the tube — that’s a $50 tube! I’ll have to check it on the tube checker at the folk music shop, but: Crap!
The power supply is the heaviest part. I need to weigh it. The whole package was 57 lbs. The wood box is nothing is comparison.
![]()
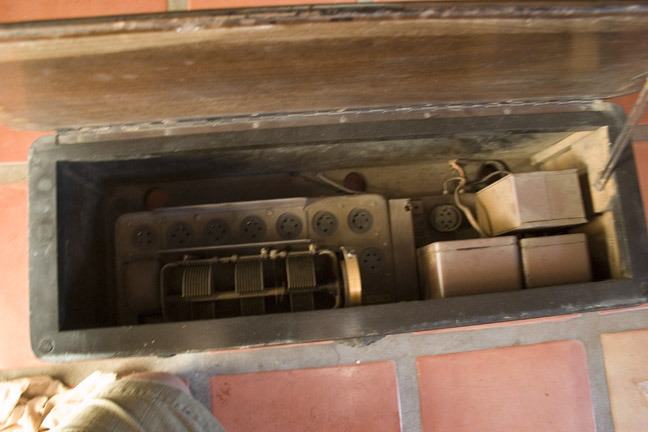
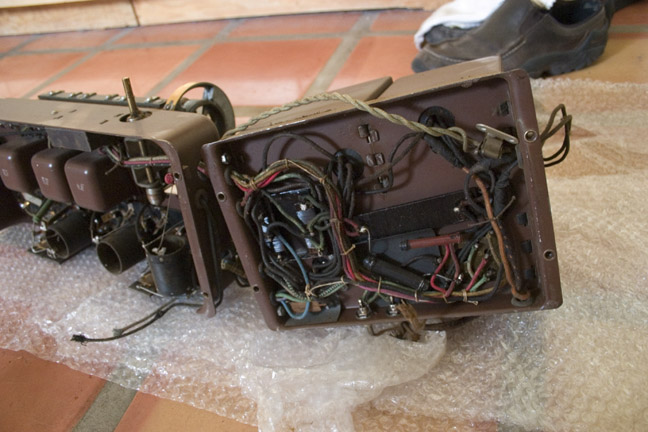
I had to take out the power and chassis together because they were still connected and I couldn’t see how to remove them while they were in the case. It is possible, though, I learned.
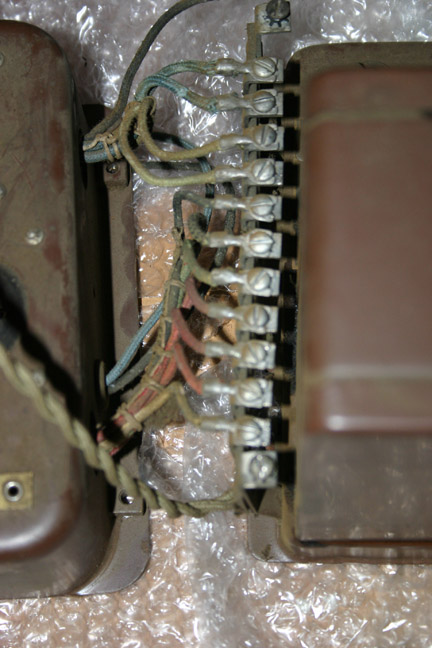
All the wires are woven cloth covered. Spared no expense.
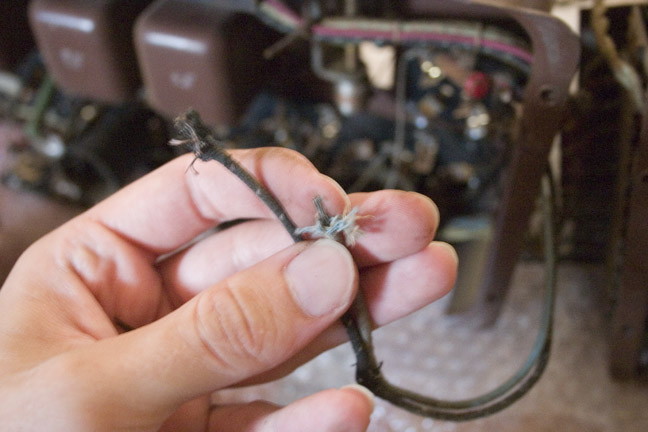
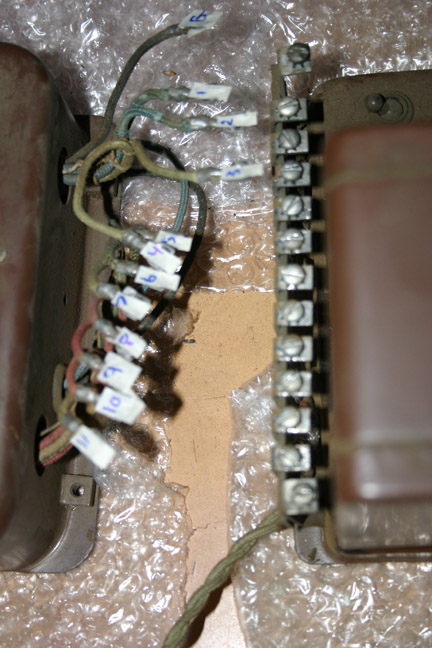
All the cables were laced together or tied down very carefully. I need to study how it’s done for when I re-lace the cables for the theremin.
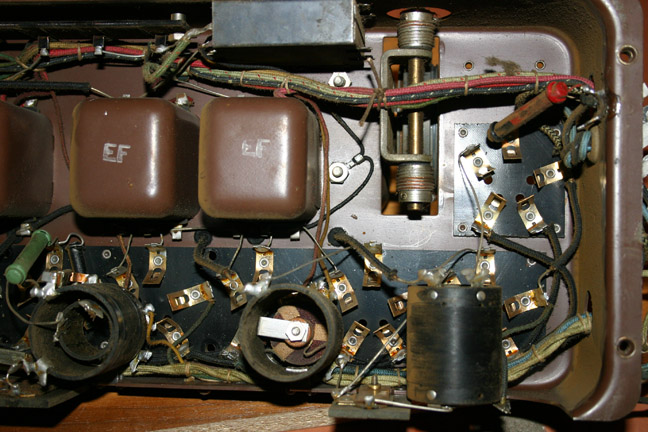
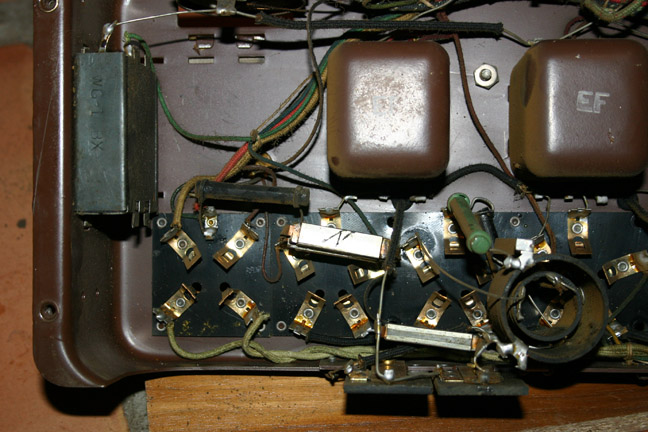
Look for the thick brown twisted cable in the photo below: that’s a cable that goes to the light for the front of the radio dial. In the power supply schematics for the theremin service manual, it’s not there. I can’t see where the wires go, so I don’t want to remove it, but I have no use for it. Also, the power switch comes out of a different spot than the theremin, who’s power switch is not even connected directly to the power supply, but before the auxiliary power receptacle. The power supply is supposedly identical according to sources at thereminworld.com
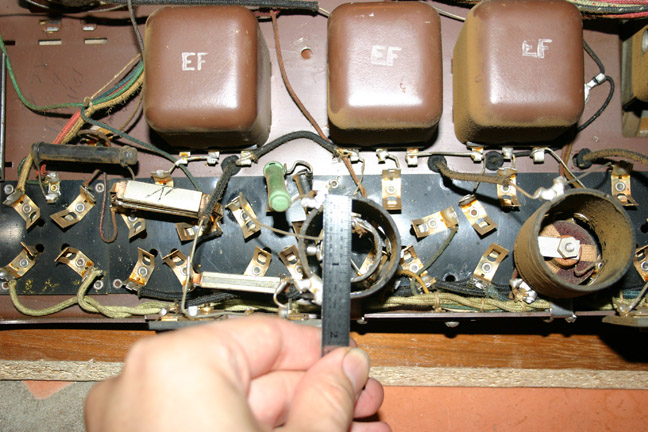
The oscillator coils for the theremin are supposed to be 1.75 inches in diameter. These coils here are less than that. I wonder why this is and if there’s a way to use these ones here.
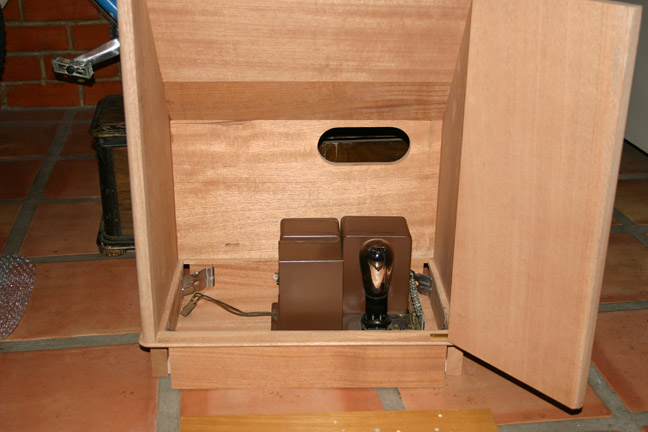
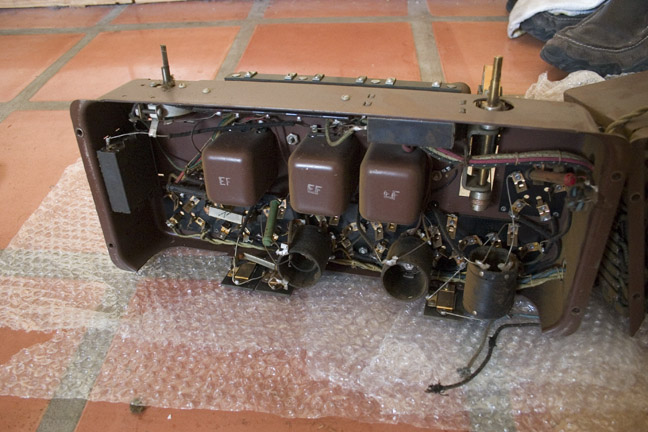
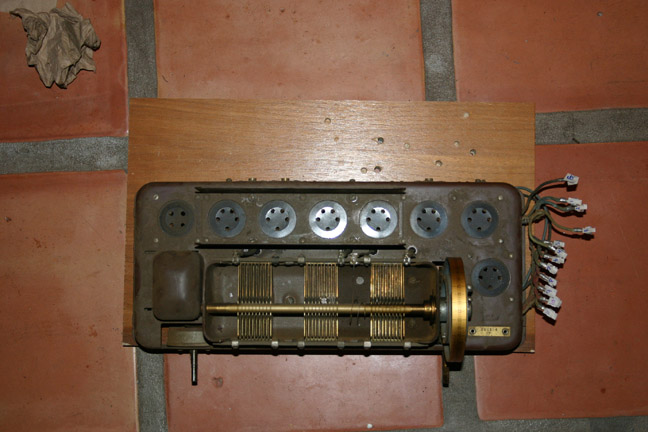
Here is the chassis on a temporary tray sized for the theremin.
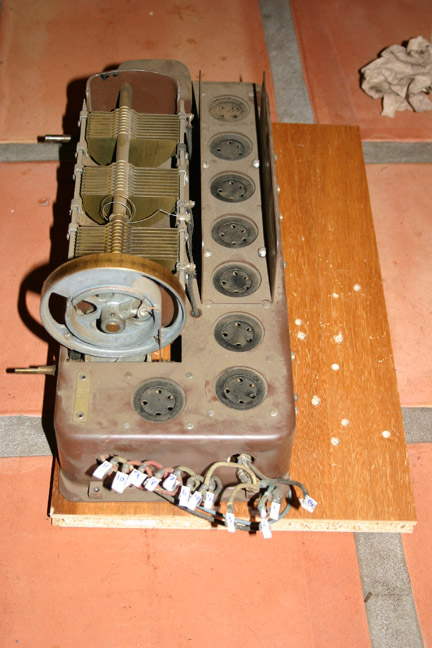
This is as far as I could strip down the chassis without a soldering iron handy. Fortunately for me, the chassis appears to be the same as the theremin’s except for one extra tube socket (the one that’s not in line with the others). 2 of the tube sockets are 5-pinned instead of 4-pinned, which I need. Looks like I’ll have to recreate the black plastic parts for those. The nice thing is that all the other parts can come off with a screw driver or a soldering iron… I was afraid i was going to have to do some serious metal work on the chassis. And now it looks like I won’t have to repaint any of it either.
The power supply loosely placed in the theremin cabinet! This is getting exciting!